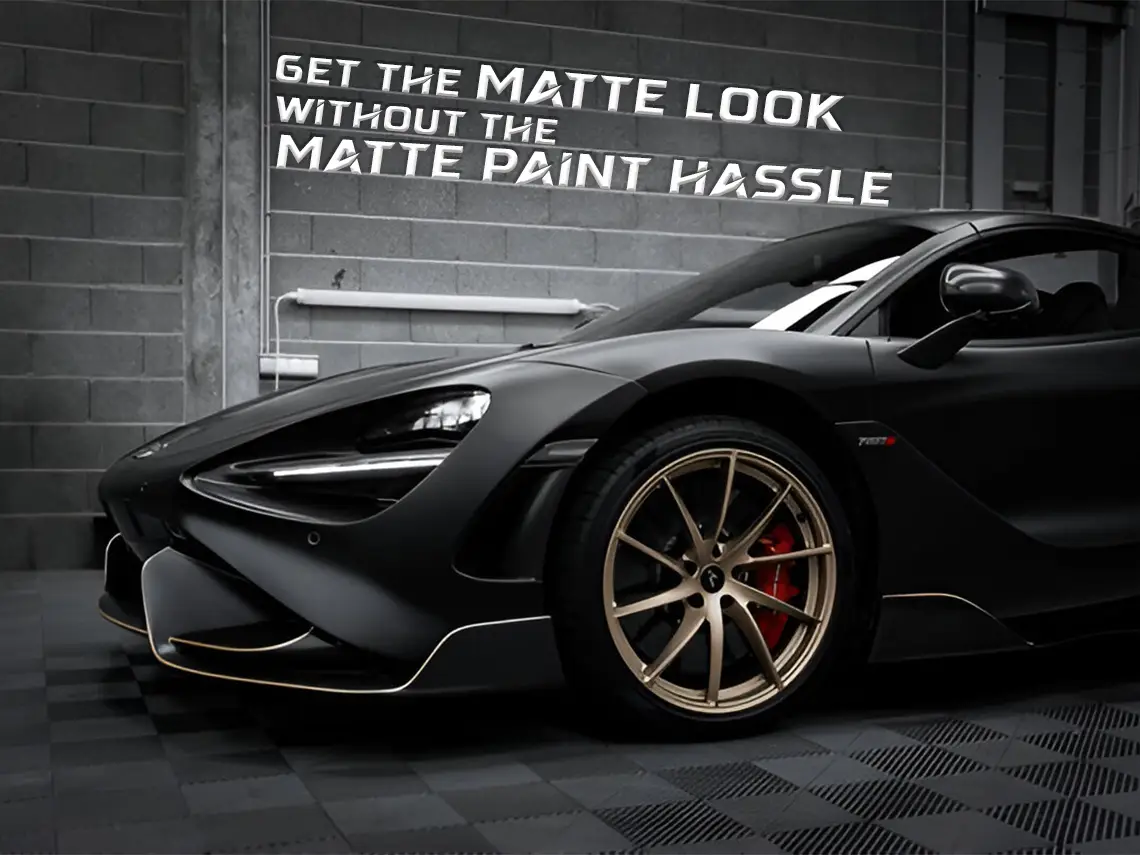
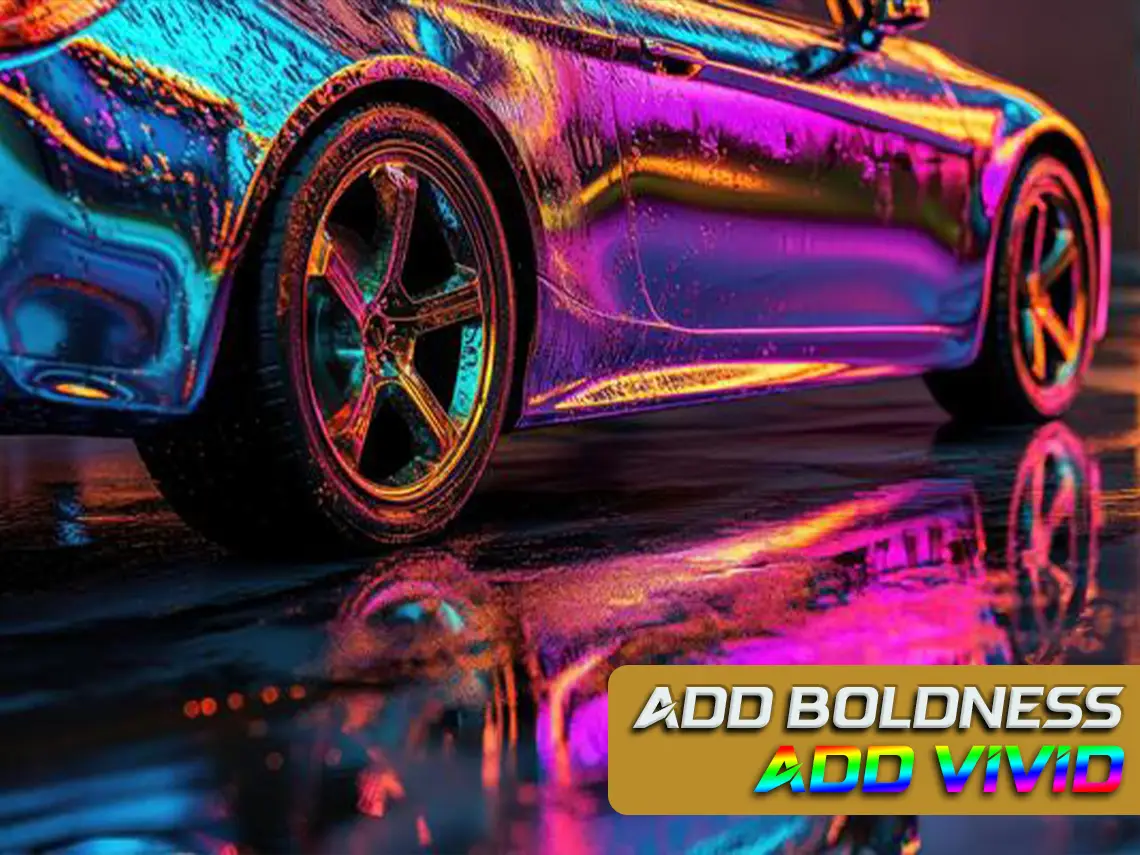
Keeping your car’s paint in excellent condition requires protection from scratches, road debris, and environmental hazards. Paint Protection Film (PPF) is a great solution that shields your car’s surface while maintaining its shine. However, for the best results, proper installation is essential. This guide walks you through the step-by-step process of installing PPF and explains why professional installation is the best choice.

Step 1: Surface Cleaning and Preparation
Before applying PPF, the car’s surface must be completely clean and free of dirt, dust, and grease. Proper preparation ensures a smooth installation.
- Wash the car thoroughly using a pH-neutral car shampoo.
- Use a clay bar treatment to remove embedded contaminants.
- Degrease the surface to eliminate wax and polishing residues.
Step 2: Paint Correction for a Smooth Base
Since PPF is transparent, any scratches or swirl marks will be visible underneath. Therefore, professionals correct the paint before proceeding.
- Polish and buff the surface to remove fine scratches and imperfections.
- Inspect the paint carefully to ensure a smooth finish.
- Touch up deep scratches before applying the film.
Step 3: Custom Film Cutting for a Perfect Fit
PPF needs to be precisely cut to match the vehicle’s body panels. Experts use digital templates or hand-cut techniques for accuracy.
- Pre-cut templates ensure a factory-fit look.
- Hand-trimming allows for better customization in unique areas.
- The film is positioned on the car before final application to confirm alignment.
Step 4: Applying and Aligning PPF
After cutting the film, professionals apply it to the vehicle using either a wet or dry method. Proper application ensures no bubbles or misalignment.
- Spray a slip solution (soap and water) onto the car’s surface.
- Carefully position the film, aligning it with the body panels.
- Use a squeegee to remove air bubbles and excess liquid.
Step 5: Sealing and Curing for Maximum Protection
Once the film is in place, it needs time to bond with the paint to ensure durability.
- Wrap and seal the edges for a smooth, seamless finish.
- Allow the film to cure for 24-48 hours to achieve maximum adhesion.
- Apply heat if necessary to activate self-healing properties and ensure a strong bond.
Step 6: Final Inspection and Quality Check
After curing, professionals inspect the entire surface to ensure perfect installation.
- Remove any remaining air bubbles.
- Check all edges to confirm proper adhesion.
- Wipe the car down for a polished, clean appearance.
Installing Paint Protection Film (PPF) requires skill and attention to detail to ensure seamless adhesion and long-term durability. From surface preparation and paint correction to precise application and final inspection, each step contributes to effective paint protection. If you want to keep your car in showroom condition, opting for professional PPF installation is the best decision.